Best lesson learned: Composting isn't as scary as it sounds. If I can do it, I'm pretty sure anyone can! It actually smells really good--a lot like an indoor rainforest at a zoo.
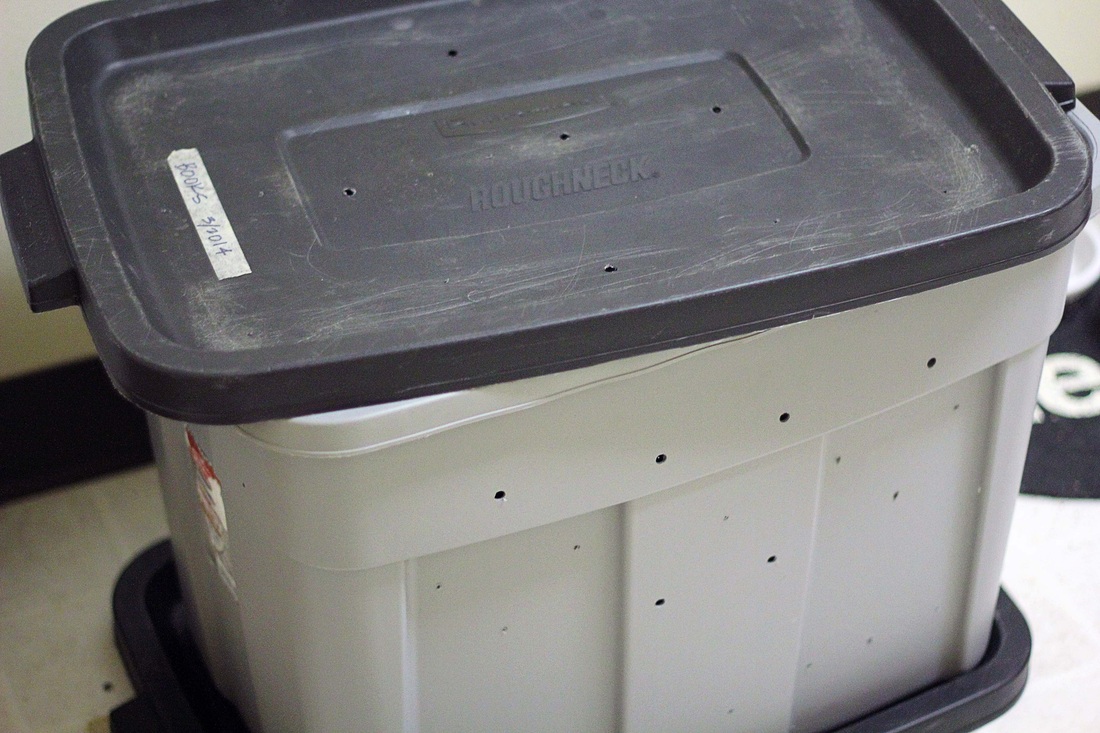
Plastic bin or container
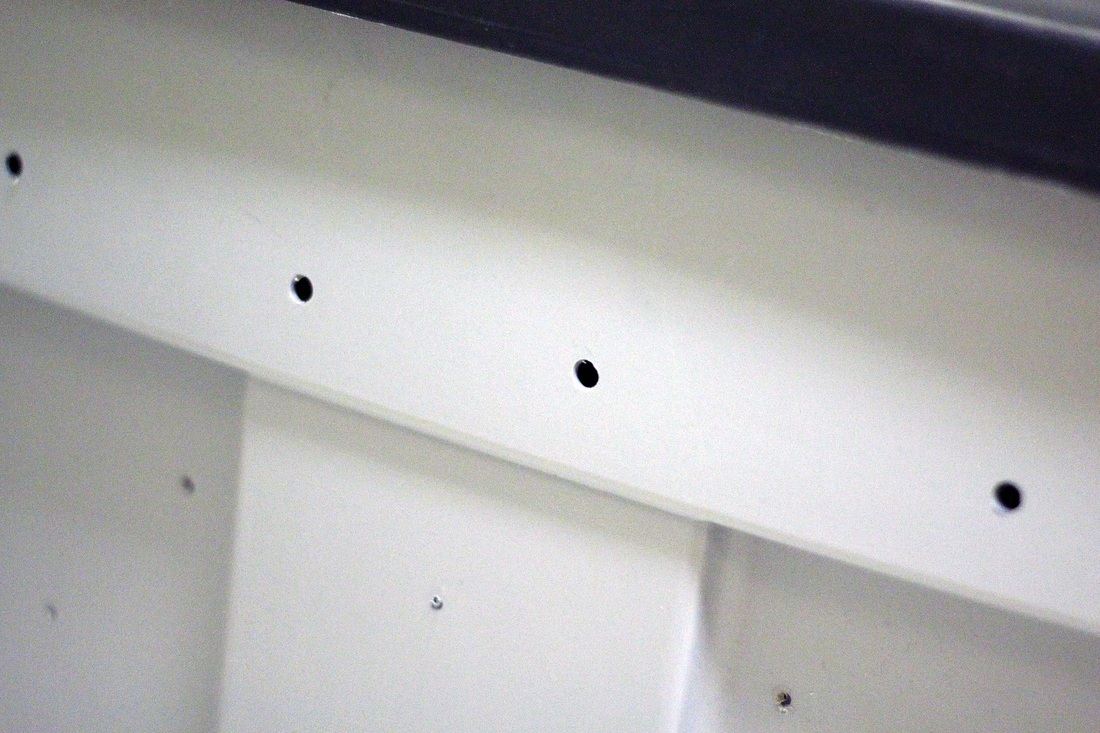
Drill*
Shredded newspaper
water
food scraps
red wriggler worms
The first thing you'll need to do when you decide to compost is find a secure location to keep you compost bin. Earth worms need a stable environment that isn't too hot, too cold, too dry, or too moist. We put our plastic bin against a wall in our kitchen, but plan to move it to a shelving unit once we feel we've got the process down tight.
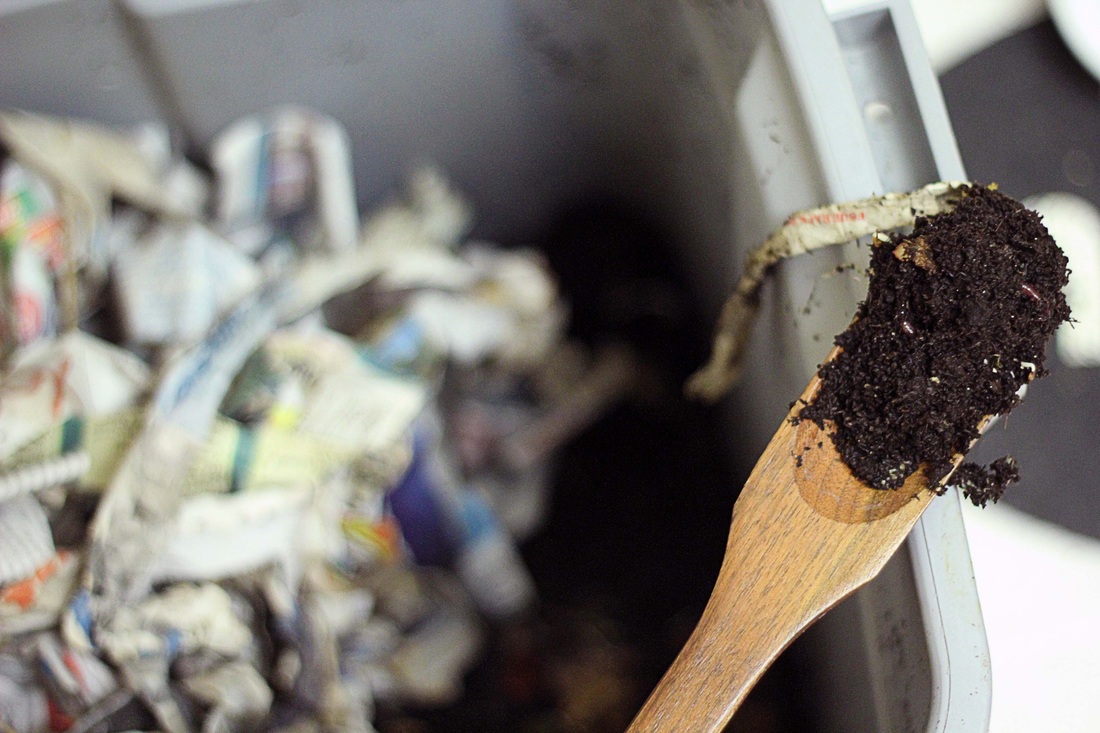
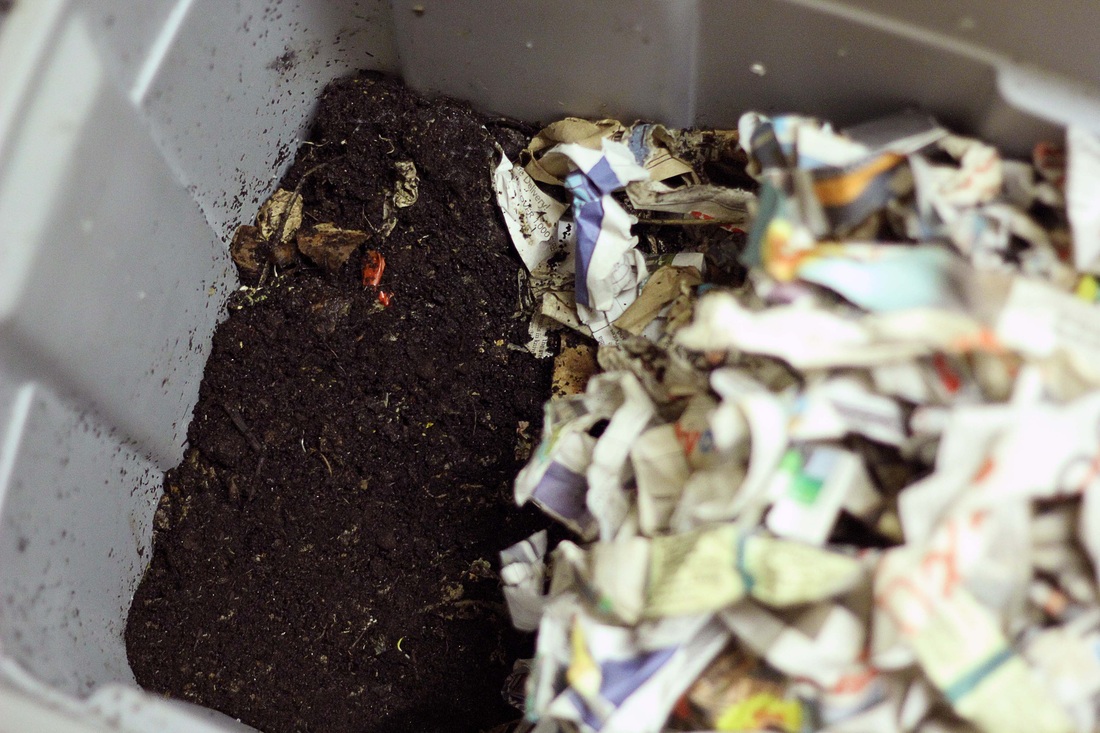
Worms need a home just like you or I do. They need oxygen to breathe and food to eat. The best way to create a habitat for them is to shred old newspapers--I mean, a lot of old newspapers. Before you even purchase your worms, shred enough newspapers into one-inch strips to fill about half of the container you use for composting. This newspaper will act as bedding and insulation to keep your worms feeling their best.
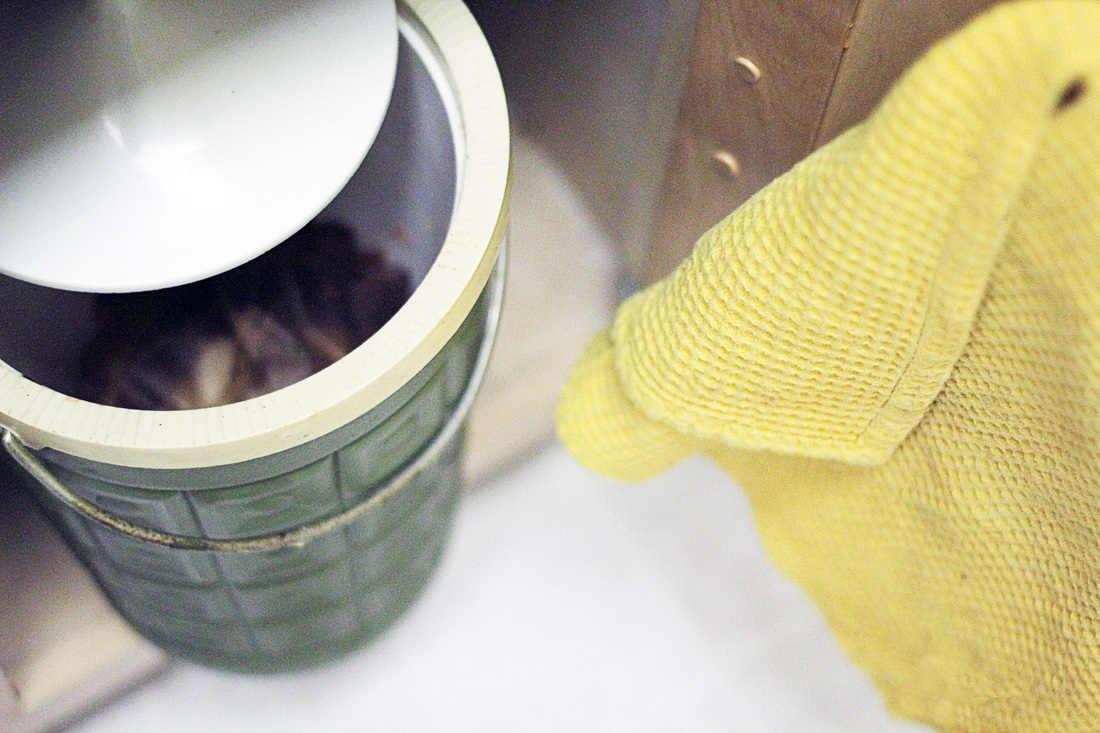
| In addition to shredding newspaper, you'll want to begin collecting food waste. Used coffee filters/grounds, tea leaves, strawberry tops, broccoli stems, and apple cores work great. We keep our collection under the sink in our kitchen. Again, don't be afraid: as long as oxygen is able to reach the food scraps, there will be no smell. |

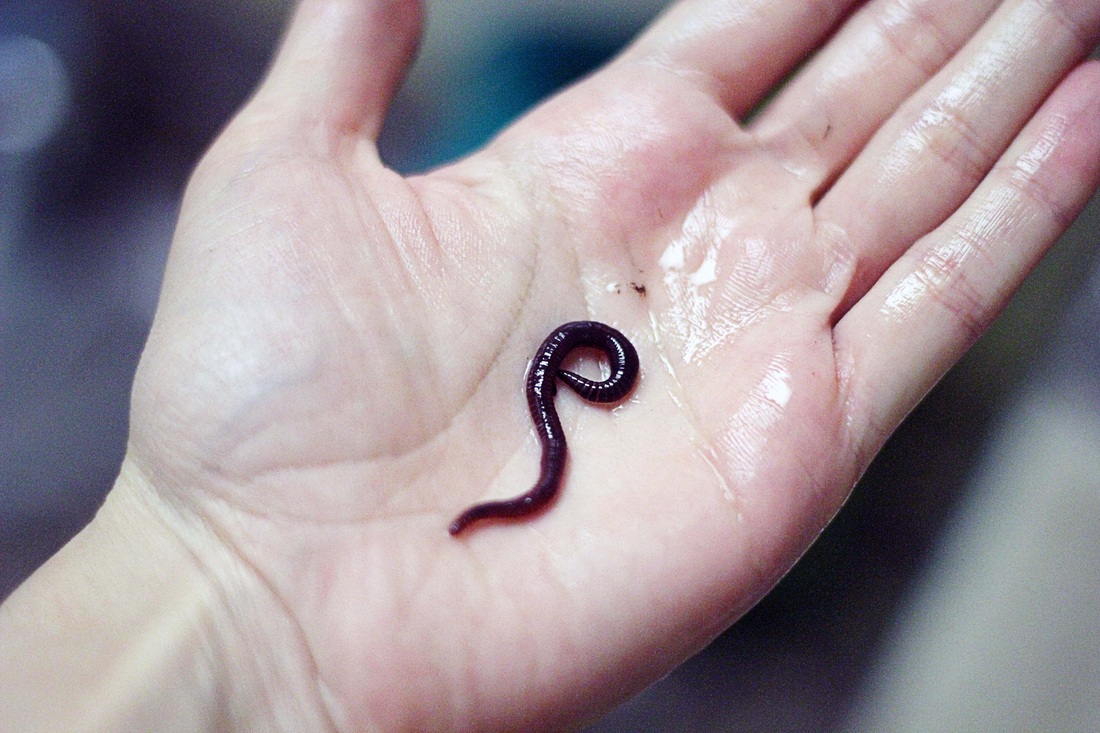
You can't just add any old worms to your compost bin. You'll need red wiggler worms, which can withstand being in tight spaces and don't burrow. We purchased our worms from Uncle Jim's Worm Farm. It's sometimes hard to tell exactly how many worms you need to start--it really depends upon how much food waste you create each week. We started our bin with 250 worms and quickly added 1,000 more. The best part? Because you are creating an eco system, you can never have too many or too few worms. The population will eventually even itself out.
Fun fact: Composting with worms has a name. It's actually called vermicomposting. (With this piece of trivia, you'll really be the life of the party!)
It may take a few days for your worms to get settled in, but after a week or so, you should notice more deep, rich compost soil in your bin. Remember, worms need oxygen to survive, so it's a good idea to aerate, or mix things up, every week or so. I check on my worms daily because I'm crazy-curious about this whole process, but there's certainly no need for that much monitoring.
The basic rule of thumb is that any organic ingredient can be composted. That said, composting is totally a trial-and-error process (it's like science that way). Lists and other blog posts with helpful tips are all over the internet, but don't assume that one compost bin is exactly like any other. I've already learned that my worms aren't too into paper bags, flower stems, or onion peels, but they love broccoli, melon, and flower pedals.
Worms creep some people out, but they're nothing to be afraid of. Like humans, they are made up almost entirely of water and, like babies, they poo. A lot. If you take good care of them, they will take great care of you and provide you with some of the most nutrient-rich gardening soil known to man.



 RSS Feed

