| About a month ago my good friend Christy emailed me with an interesting proposal. She needed some help learning how to shoot in low-quality, indoor light. In exchange for the teaching time, she explained I could get help with a project I'm working on by participating in the Silver Spring Time Bank. Christy's email was the umph I've been needing. I'd heard of the Silver Spring Time Bank -- it's part of the new economy movement -- but just kept dragging my feet on registering. Now that I'm signed up, I'm really looking forward to helping out others and meeting new people with a wide array of skills and talents in my community! Because shooting in indoor and low-lighting is the bane of existence for any photographer, I thought I'd share some of the tips I shared with Christy. I should note that these tips work best for photographers using DSLRs and no additional equipment. This is how I shoot and these are best practices I use myself. |
Before you even start pushing the shutter, it's important to look at the space you're working in and identify natural light sources, including doors and windows. If you have to, don't be afraid to open a door or move furniture to get access to good light. You'll want to shoot as close to a natural light source as possible. This also means you'll want to photograph your subject during daylight hours. Working between 11 a.m. and 2 p.m. is best.
Turn off that flash!
I know it sounds counter-productive, but unless you have a detachable flash that can be manipulated with diffusers and other equipment, the light produced by your flash is going to be harsh. That means dark shadows and bright whites. The best way to achieve consistent lighting is to work with what's already there.
Learn to shoot in manual
Manual mode gives you the most control over your camera and its settings. Not familiar with this mode? It's time to pull out the user's guide that came with your camera. I know, I know. It looks like a lot of reading in tiny-a** font, but I promise it's helpful.
Increase the ISO
Think of ISO as film speed. The higher it is, the less light you need. Just be aware that there's a give and take with this function. The higher the ISO, the more noise or grain you'll see in your images.
Focus on Your Posture and Breathing
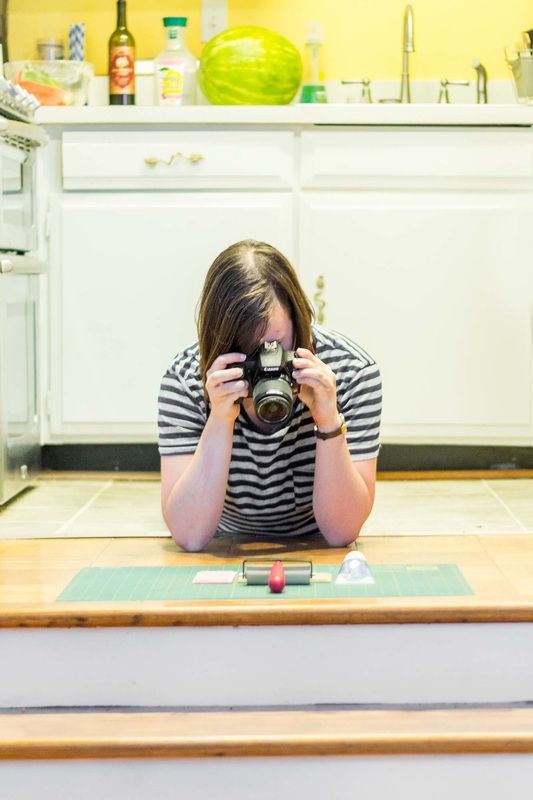
One of the best ways to achieve non-burry images when working in low or poor quality light is to use a tripod. If you don't have one of these (I don't even own one!) you can stabilize your camera by lowering your center of gravity, bringing your elbows into your torso and bre


 RSS Feed

